> ## Documentation Index
> Fetch the complete documentation index at: https://citodocs.prostack.host/llms.txt
> Use this file to discover all available pages before exploring further.
# Docker Containers
> Deploy software using Docker containers on Cito
Cito supports deploying software in docker containers. You can spin up containers inside Cito using the `docker` CLI command.
If you wish to proxy traffic to those containers, you will need to create a 'Proxy Pass' site type.
This allows you to specify the IP & Port of your container and have Cito pass traffic to it using a domain name you specify.
This guide will demonstrate how to create a Proxy Pass site type and start a simple container.
**Use admin**
You should run these commands as the `admin` user unless otherwise specified.
## Starting containers
To start a container you use the `docker` command. This **must** be prefixed with `sudo`.
For example, to run the nginx "hello, world" example container on port 8000 (mapped to port 80 inside the host) run:
```bash theme={null}
sudo docker run -d -p 8000:80 nginxdemos/hello
```
You'll see the container name in the output. To validate the container is running, you can use `sudo docker ps`:
```
CONTAINER ID IMAGE COMMAND CREATED STATUS PORTS NAMES
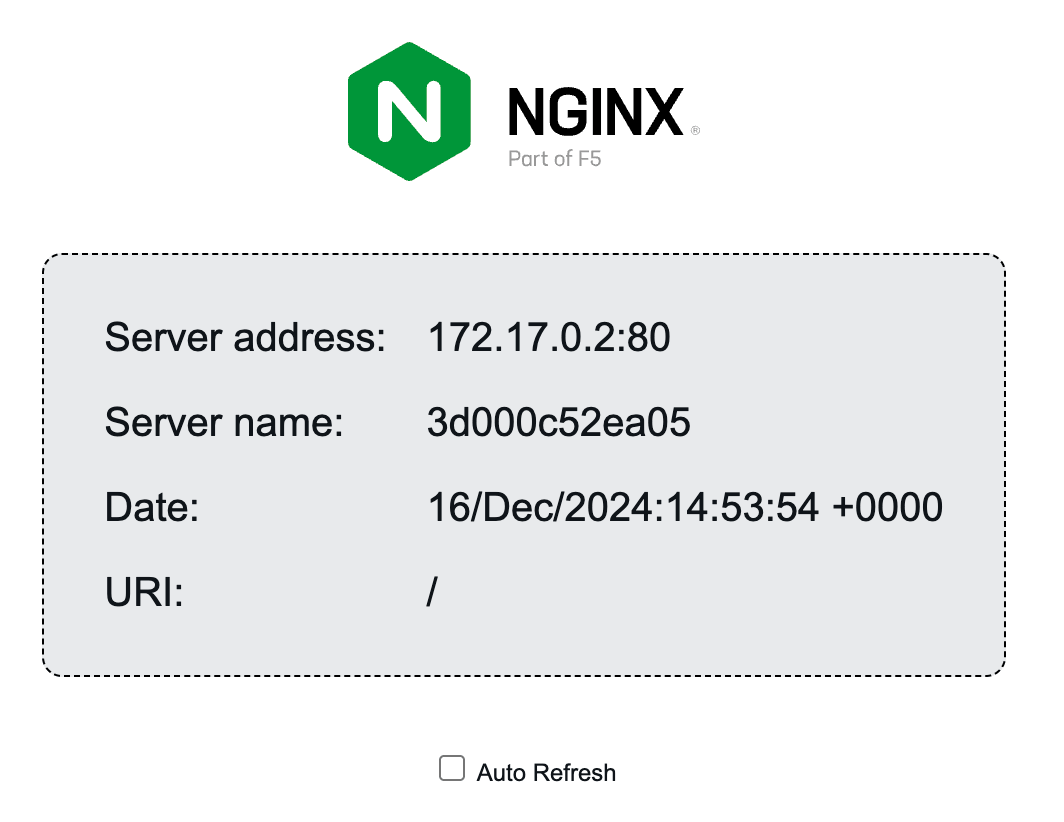
3d000c52ea05 nginxdemos/hello "/docker-entrypoint.…" 2 minutes ago Up 2 minutes 0.0.0.0:8000->80/tcp, [::]:8000->80/tcp friendly_bouman
```
This shows our container is running and the port it is bound to (`8000`) on the server. Next we can proceed to create our Proxy Pass site to direct traffic to it.
## Creating the Proxy Pass site
Click 'Create site' in the top hand corner of the dashboard and select the "Proxy Pass" site type.
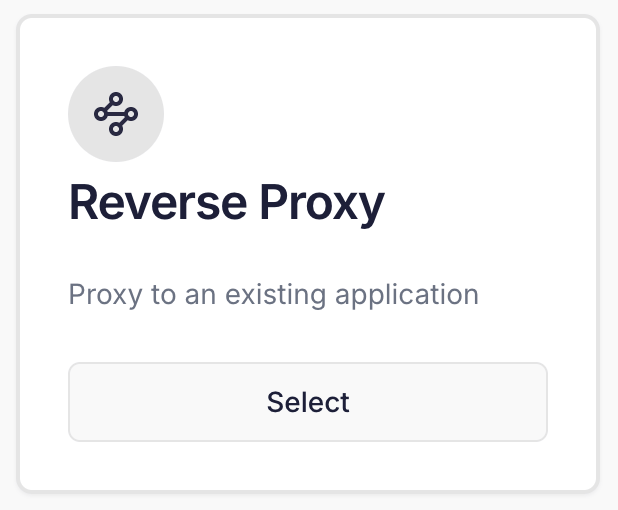 In this example the **Target** is `127.0.0.1:8000` which is where our container runs.
 Once you have created your site you'll see it listed on the Sites page.
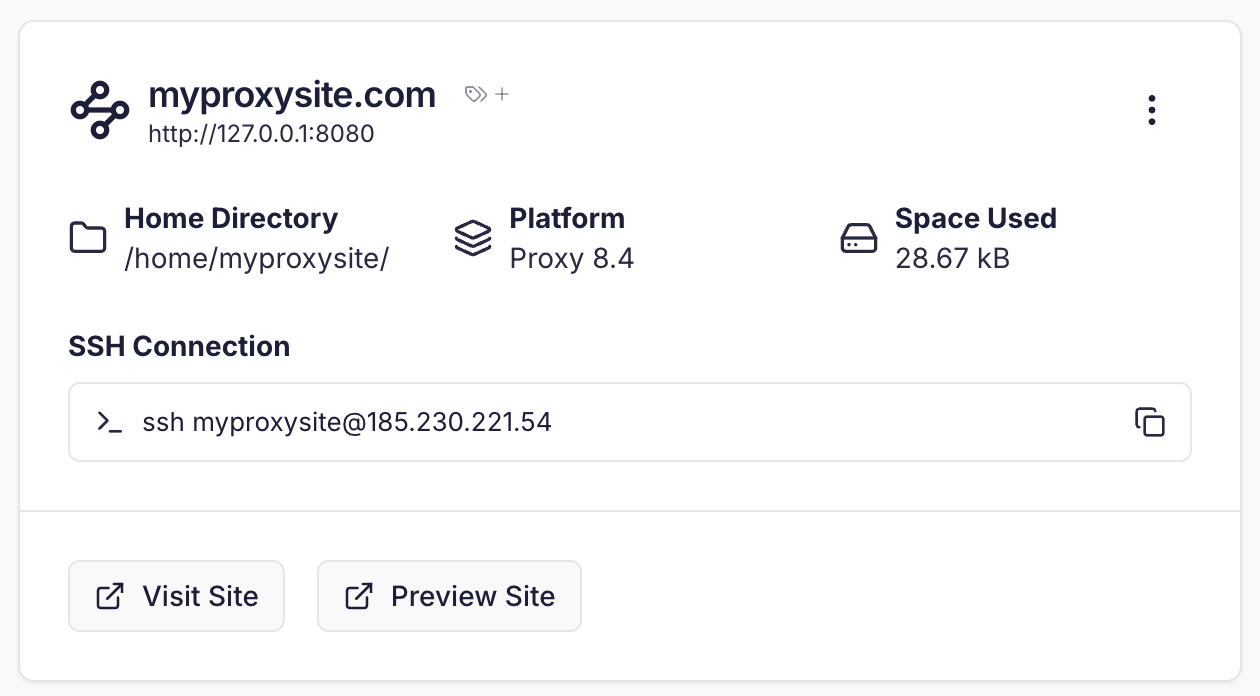 You can click the Visit or Preview sites to see the container running:
 ## Further reading
The following resources may be helpful when working with Docker:
* [Docker Documentation: Ports](https://docs.docker.com/get-started/docker-concepts/running-containers/publishing-ports/)
* [Docker Compose](https://docs.docker.com/compose/)
* [Docker CLI reference](https://docs.docker.com/reference/cli/docker/)
## Further reading
The following resources may be helpful when working with Docker:
* [Docker Documentation: Ports](https://docs.docker.com/get-started/docker-concepts/running-containers/publishing-ports/)
* [Docker Compose](https://docs.docker.com/compose/)
* [Docker CLI reference](https://docs.docker.com/reference/cli/docker/)